Create your first project and pipeline
This guide follows the desktop app's project and pipeline path. It does not create a Release workflow; that is a separate flow in Build and ship with a Release workflow.
Create a project
- Start Pipelab and wait for the dashboard to load.
- Create a project and give it a name.
- Select the project before creating a pipeline.
A project groups pipelines and Release workflows. Creating a pipeline is a separate action inside the selected project. New pipelines use Pipelab's internal storage by default. Import can bring in a pipeline file or configuration; project deletion is unavailable while it still contains pipelines or is referenced by a Release workflow.
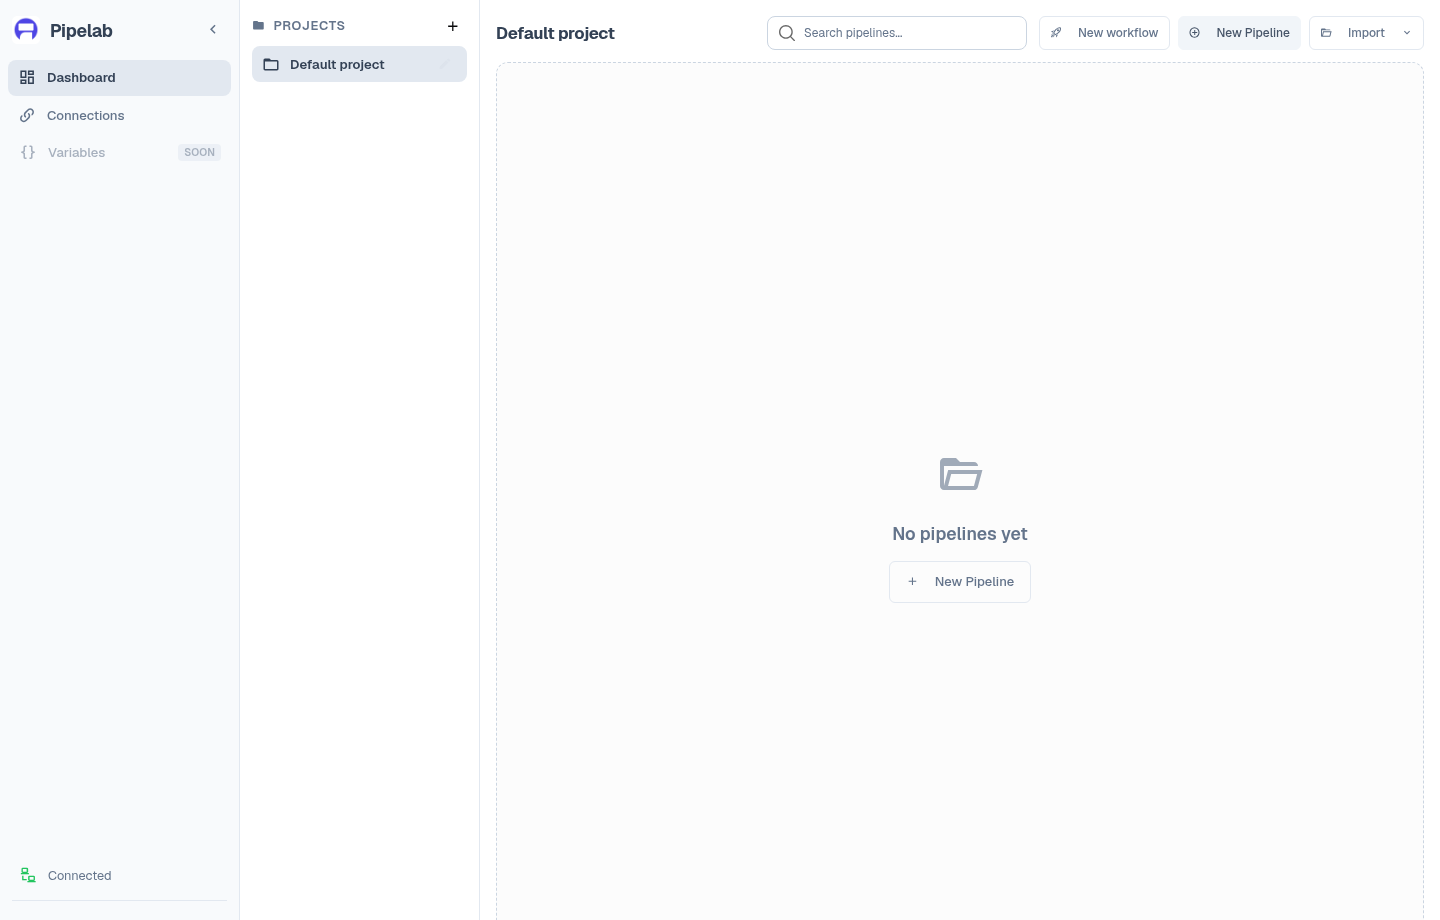
Create and configure a pipeline
- Choose New pipeline and select one of the available presets.
- Open the pipeline editor and add a task from the plugin task picker.
- Choose from the plugins already available in this build. The bundled desktop app does not install or activate plugins from the task picker.
- Fill the required parameters shown by the task editor. Some fields also offer an advanced editor.
- Save the pipeline.
The task picker is populated from plugin definitions. A task can have required inputs and host-platform constraints, so use the provider or task guide for its exact requirements. The provider catalog links to the registered tasks.
Run and inspect
- Sign in to your Pipelab account.
- Choose Run. Pipelab validates required inputs and available plugins before execution.
- Follow the active task, logs, and generated artifact paths in the editor.
- Cancel a running pipeline from the editor if needed. Pipeline history is recorded locally by default. The legacy Build History dialog requires an account with the Build History benefit; it is separate from Release workflow run history.
The graph executor processes action blocks in their saved order. If an action fails, execution stops at that error. Pipelab stores build history unless history has been disabled in the host environment. For the separate Release workflow Runs screen, see runs and history.
Continue with a Release workflow
Use a Release workflow when you need to select a source, build targets, and delivery destinations. Its Ship action and run history are separate from the graph pipeline editor. Start with the Release workflow guide.
If the dashboard remains disconnected or required data fails to load, use the retry action and follow troubleshooting.